If you know me, you know I can't help but be drawn to old furniture even if it is sitting in the trash. Thankfully I was with the Mr. and only a block away from home when I spotted this beauty sitting curbside. We had to awkwardly carry it and push the stroller home but I think its worth it. Thank you neighbors whoever you are!
It's got quite a lot of damage so it needs a little TLC but I have a plan to try to turn it into an outdoors storage/bench/hidden cooler piece (inspired by this dresser turned cooler).
As for the mystery, the trunk is locked and we don't have the key. This thing could have Jimmy Hoffa in it! Alert Geraldo.
I'm a little stuck on exactly what sort of decorative treatment to give it b/c of the rosette detail. If it didn't have that detail, I would go with an industrial look considering its function but its not to be. Any ideas?
Today in micro fashion...
faux fur hooded vest with ears - H&M |
Anyone else just a tiny bit addicted to kid clothing shopping? What are you favorite shops for your little one's closets?
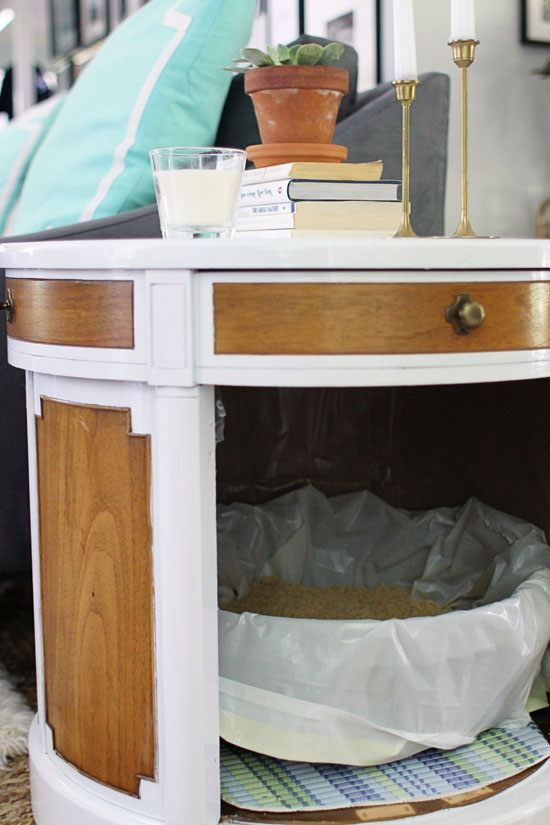
Hidden Kitty Litter Side Table {Guest Contributor}
This post was written by Megan of Two Delighted, contributor for Brooklyn Limestone.
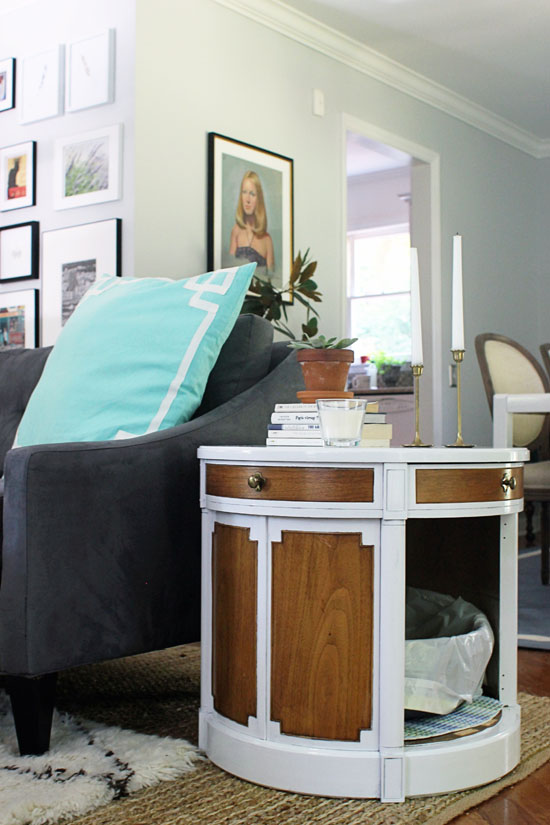
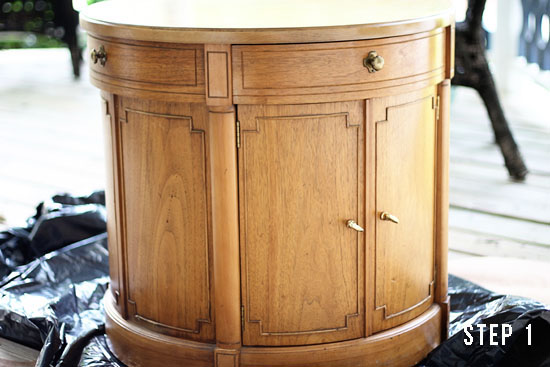
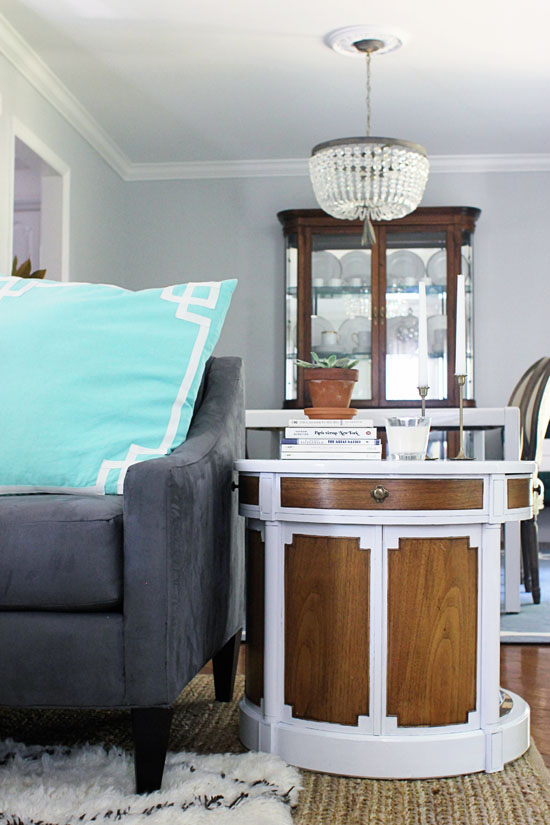
Hello friends! It’s Colleen again and I’m here with a DIY for the cat lovers. We adopted the sweetest kitten this winter and we love everything about him, except the fact that our litter box quota has increased exponentially from one (for our older cat) to four (to make sure the kitten doesn’t urinate all over the house). Litter boxes are unattractive and smelly. It is just a fact. The one we have downstairs has been offending my eyeballs for months and I finally decided that I would make an attractive litter box holder to remedy the problem. I was originally going to buy a cheap furniture item from Ikea but then my husband and I stumbled upon the perfect open table/cabinet thing at Restore and I felt like I won the lottery. With some paint and a couple of cat necessities, it has now become a lovely side table as well as a place to hide the litter box.
What You’ll Need:
- Cabinet or chest that you don’t mind messing up. If you can’t find anything used, Ikea has some cabinets that would work.
- Paint - I used white oil based paint to make the white portion of the furniture nice and glossy but you can use whatever you want.
- Litter box that will fit inside of your cabinet - make sure the kitties have enough room for their little heads.
- Plastic litter box mat
- Plastic drop cloth
What You’ll Do:
- Paint the table with whichever paint you choose. Or don’t paint it. Completely up to you.
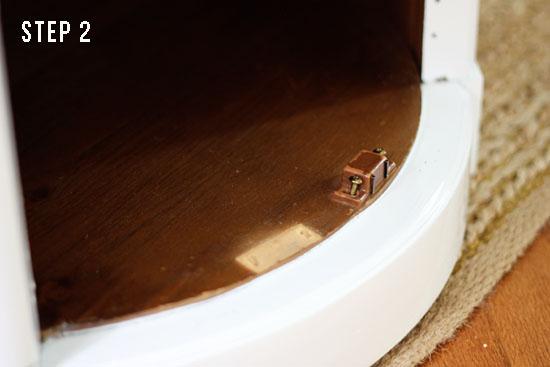
- Remove any hardware that will be getting in the way on the inside of the cabinet. I was lucky and was able to just take off the doors to have a hole for the cats to enter, but you might need to cut and sand a hole if your furniture doesn’t have doors. Place the mat at the bottom of the cabinet and line the inside of the cabinet with plastic drop cloth (securing either with staples or nails at the very top) so it is soft for their paws. Once we put the litter box in, it took the cats a little while to start using it. After a couple of days, I’m happy to report that both cats have seemed to like their new litter box. Yay for small victories.
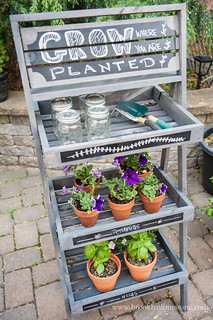
Featured on Ana White : Farmer's Market Stand Plans
I'm so excited today because my little DIY farmers market stand is now immortalized with very fancy looking build plans thanks to the lovely Ana White. The project was featured on her site this week and I couldn't be happier to be in such amazing company. Hope this is helpful for those of you who were asking for specific measurements or needed help with visualizing some of the details.
I'm sure you are already familiar with the amazing resource Ana White for great DIY furniture plans so its a treat to have anything I dreamed up included in the catalog. Thanks for the love Ana!
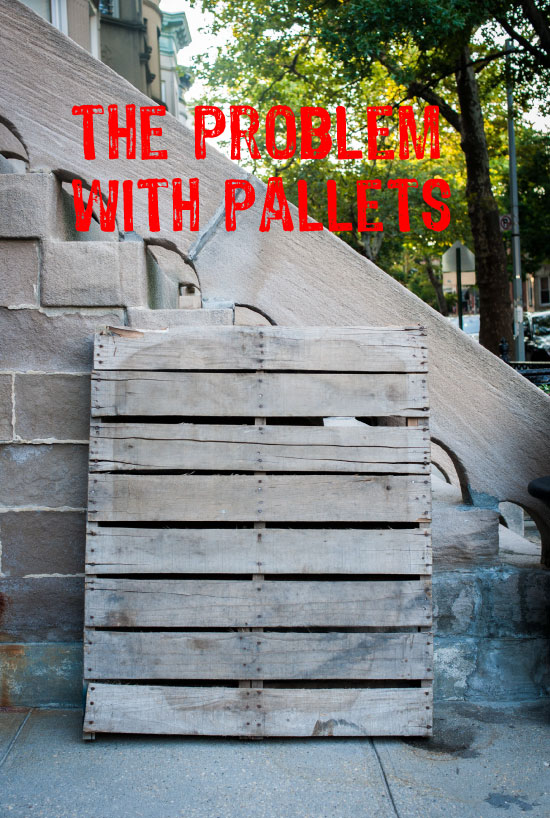
The Problem with Pallets No One Told Me
In a somewhat round about way, I came be in possession of a few rickety wooden pallets. Pinterest has one zillion DIY pallet projects that all appear to be fairly straight forward. I feel fairly comfortable with power tools. What's the problem?
Well, the problem is that in order to tear the pallet apart, I'd need to employ Joe Manganiello, all the Duggar children, and the Incredible Hulk! Even still, the probability of getting a single board free if damage is 0.00! Those boards are on there with multiple bent nails that just DO NOT WANT TO COME OFF! AND each board is affixed at three different points. When, by some miracle, I was able to wrestle a single point free, the darn thing would split somewhere else. In other words, free lumber ain't free.
So there you have it. The problem with pinterest pallet projects. Perhaps this is mentioned elsewhere and I've just missed it? I know I've seen the mention of there being "some effort" involved in getting them apart but there always seemed to be more attention to paid to the conversation about where to find them or to make sure they were chemical free. At no point did I remember reading about how I'd be kneeling in my front yard sweating like an animal and wrestling with an unreasonable chunk of wood! You've heard it here first folks!
Or perhaps I just got saddled with the meanest pallets in all the land? Either way, I figured it was worth a mention for those you out there thinking of starting your own pallet projects. I know many of you have used pallets in your own projects - what have our experiences been?
All that said, I just can't bring myself to just chuck it either. This one looks so pretty just waiting to be put to good use so I MUST find something to do with it. I just can't quite think of anything practical for me that allows me to keep it intact and/or go at it with a saw so that sawing off all the nails isn't a deal breaker (keep in mind this one has a center support). What do you think?
Quite possibly, the best $75 ever spent at Ikea
Ok so perhaps this isn't a scientific imperative but this use of hex mirrors on the ceiling just may be the best $75 ever spent at Ikea!
image source: Lauren Diane Svenstrup dining room via Apartment Therapy
I know this isn't your typical ikea hack - installation is easy, it required zero power tools but that's partly why I loved it so much.
image source: Lauren Diane Svenstrup dining room via Apartment Therapy
I know this isn't your typical ikea hack - installation is easy, it required zero power tools but that's partly why I loved it so much.
Not only does it beautifully compliment the dark paint and draw the eye up, it also adds an architectural element to a flat ceiling and add surprising personality to the room. In other words, I could not love this more! What do you think?
Have a better idea of what you would do with $75 at Ikea?
The Tiniest Kitchen Renovation Reveal
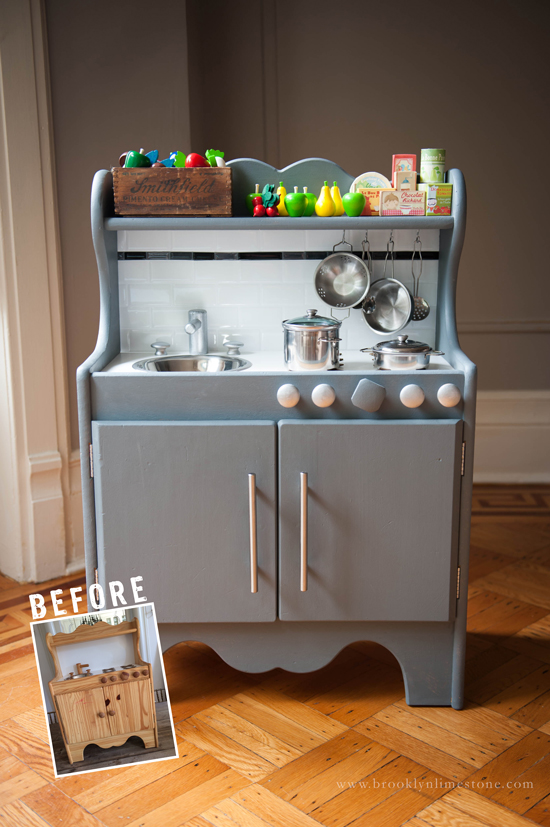
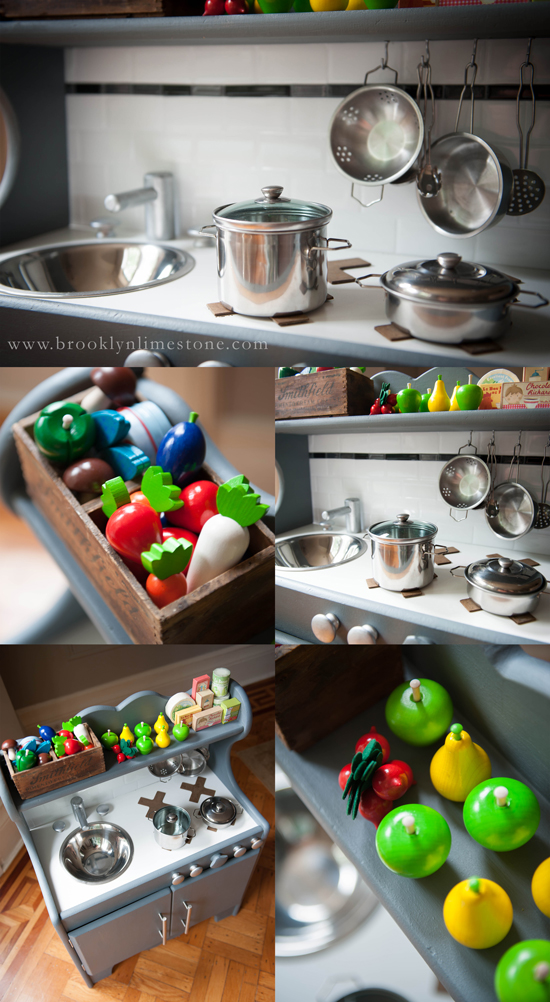
Guess who is the happiest girl on the block? No, not Agatha but her mother who was so happy to have this tiny project done. Not only because I just love how it turned out but also because Agatha's was so priceless - her face ace lit up, she cried out "kitchen!" and ran over to start playing immediately. The best! But enough of that, time for the big reveal.
A little bit more in keeping with my style, don't you think?
Sources:
play kitchen found second hand but originally made by little colorado
**
backsplash is peel & stick smart tiles which were super easy to install and totally make the whole look! I just cut with a scissors, peeled and stuck. (These are actually made for real kitchens so a good alternative to retiling if you don't want the hassle or have other restraints in case you are wondering. They look very authentic!)
**
paint was annie sloan chalk paint in graphite mixed with white
**
**
awesome play food from HABA - agatha will not stop playing with these and is learning all of the words for the vegetables and fruits. I love it all and am going to be collecting every piece they make!
That's it for now. I want to add some side storage and some interior shelving but my cordless saw was acting up so I put that upgrade on the back burner for now. In the meantime, Aggie is cooking up a pretend feast!
How to Make Decorative Letters from Wood Scraps in 4 Easy Steps
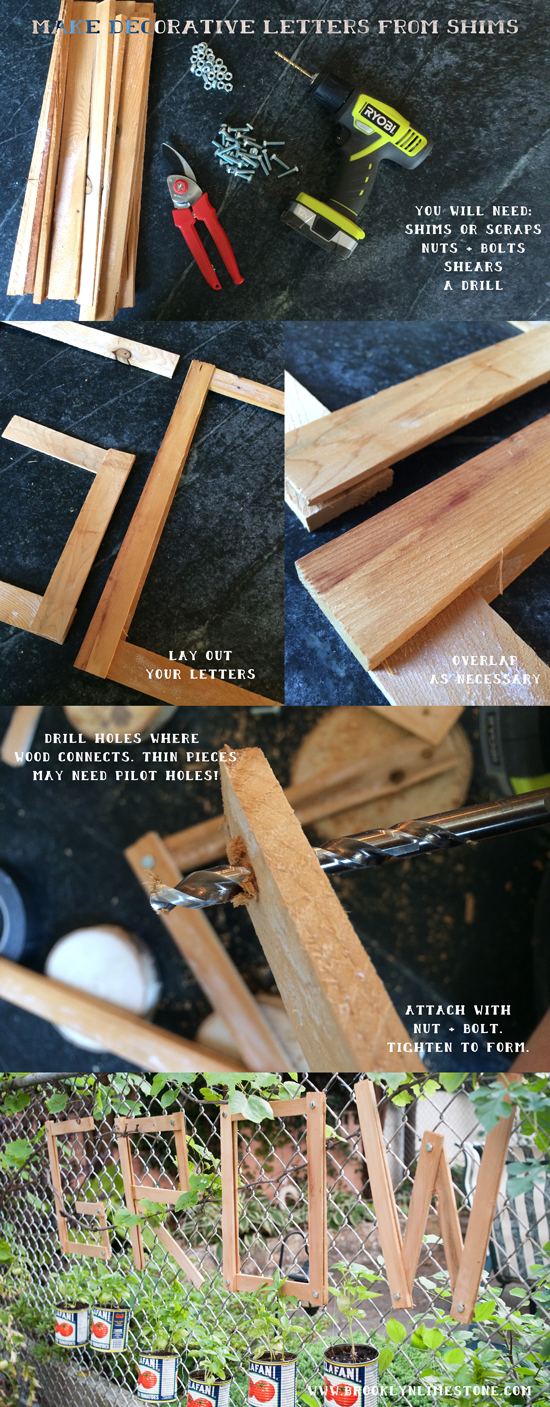
As requested, a little more detail on how to make your own wood shim decorative letters for almost nothing in very little time. Next time I make these, I'll use scrap wood to make them a little more sturdy and saving me the time of drilling pilot holes.
It really is 4 simple steps:
1. Lay out your letters cutting as needed.
2. Drill an overlapping hole at each joint. Thin pieces of wood will need pilot holes.
3. Thread a nut and bolt at each hole
4. Tighten as needed to hold its shape
Obviously I used these in my garden but I think these would be especially great for party decor since they are cheap and impactful.
Chic on the Cheap: Chain Link Fence Basil Garden
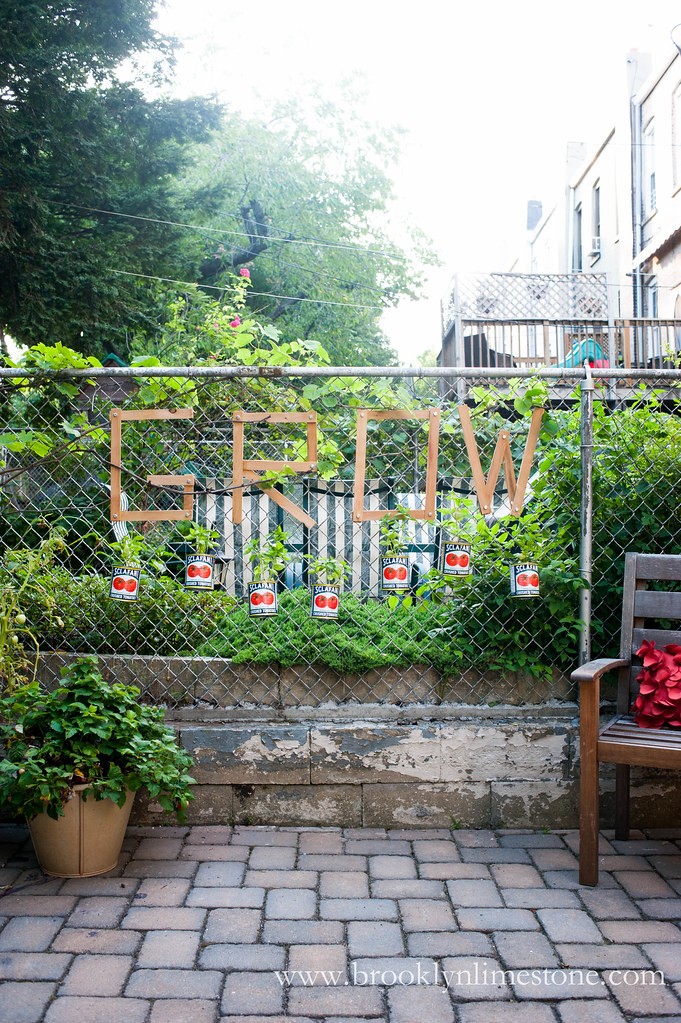
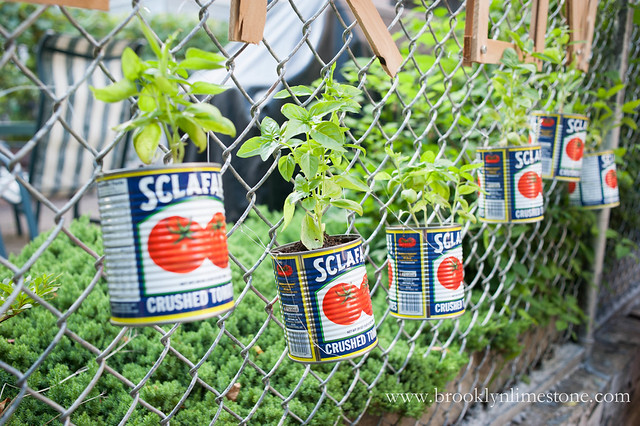
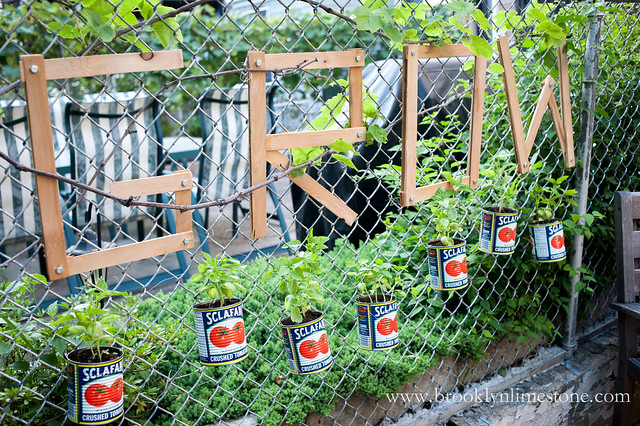
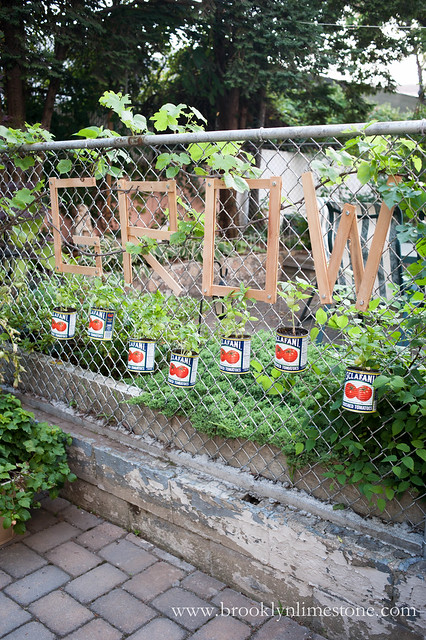
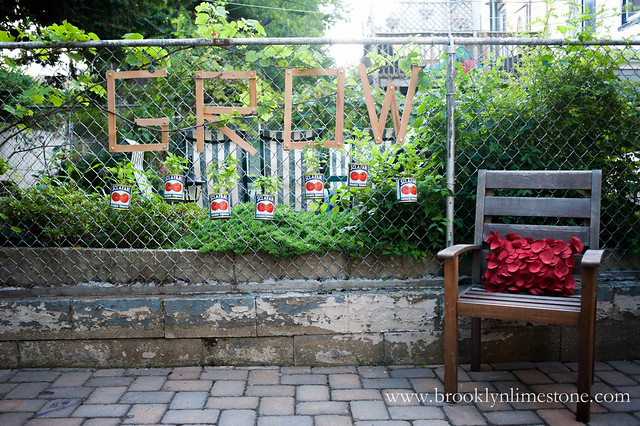
This might be one of my favorite projects. It costs almost nothing, took only one afternoon to put together and made more space in our little backyard for running around.
I'm a sucker for vertical gardens-see my vertical herb garden and farmer's market inspired stand projects as proof - but this was way easier and has a little quirk to it too.
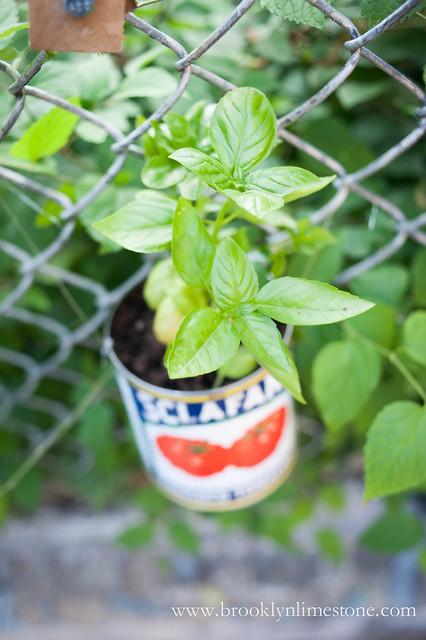
If recall my Italian themed Christmas party a few years ago, you know I'm a fan of the beautiful design on the Scalino tomato cans. I just hate throwing them away so giving them new life as planters was a win. What goes better with tomatos than basil?
The "GROW" sign was an incantation for my garden to keep thriving despite a black thumb as well as a fun way to hide the ugly chain link. Made with cedar shims and bolts, I think I could use a few more planters to fill out the look but its a start.
So what do you think? Anything I could add or should I just let nature take over?
Do you have your own vertical gardening tricks to share?
Stylish Soiree with Martha Stewart and Shutterfly
If you follow me on Instagram, you may have caught one of the most fun moments of my year - getting to meet THE MARTHA STEWART in person. Yes, I can die now! If you are wondering just how I got to be standing next to Martha with a frozen expression on my face, read on...
Shutterfly asked if I would like to attend their 2014 Shutterfly by Design event followed by a cocktail party at the home of Kevin Sharkey, SVP, Executive Editorial Director of Decorating, and Executive Creative Director of Merchandising at Martha Stewart Living.Um, let me think about that for a second. Yes of course!
This was my first year there and I wasn’t quite sure what to expect, but I have to say I was floored! Of course I’m familiar with Shutterfly for prints but I had no idea how many other products they offered beyond just photo prints. Add that to the fact that the event was styled by some pretty amazing designers, I couldn’t take it all in fast enough. Lots of inspiration here. Check it out…
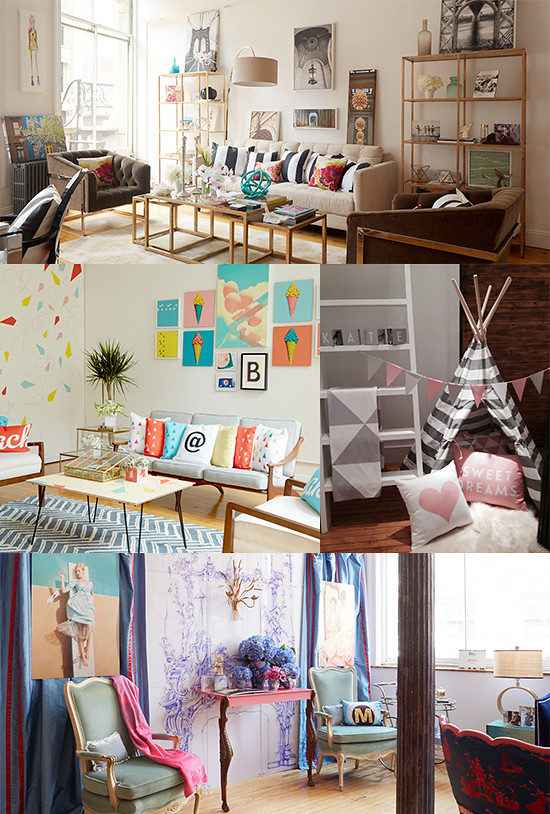
Great work by everyone involved including Brit Morin, Michelle Workman, Olivia Palermo, Jennifer Hadfield, Kim Stoegbauer
Just lovely and chock full of clever ideas to be inspired by. Here are a couple of mental notes I took to share with you.
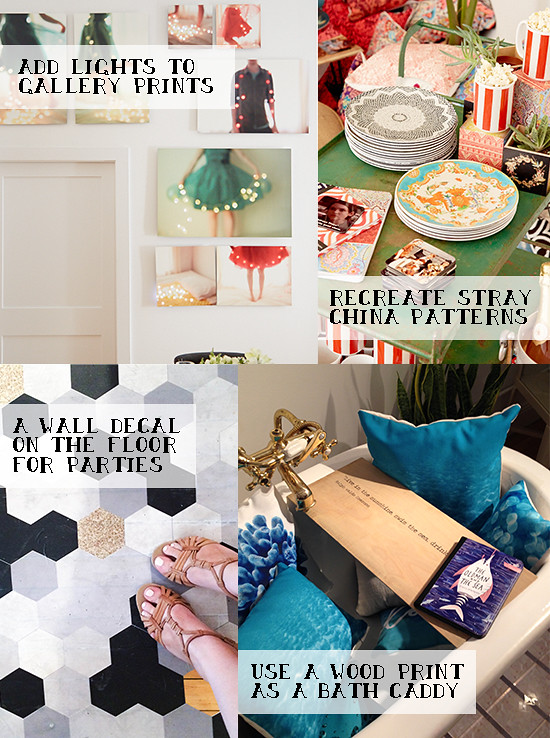
How about a wall gallery of metal prints;(yes, Shutterfly makes metal prints, who knew?) artfully displayed with LED lights? The effect was just gorgeous. Really smart and so impactful! Or using a wood print in place of a stainless steel bath caddy by placing it across a claw foot tub? Why didn’t I think of this before?
Or what about recreating a favorite antique china plate onto melamine dishware for outdoor entertaining? Yes, they make dishes too! Especially genius for those of us who scour thrift stores and always seem to find a single gorgeous plate without the rest of the set. Or what about using a wall decal on the floor as a very clever party decoration? Ok, enough gushing. I think you get the idea.
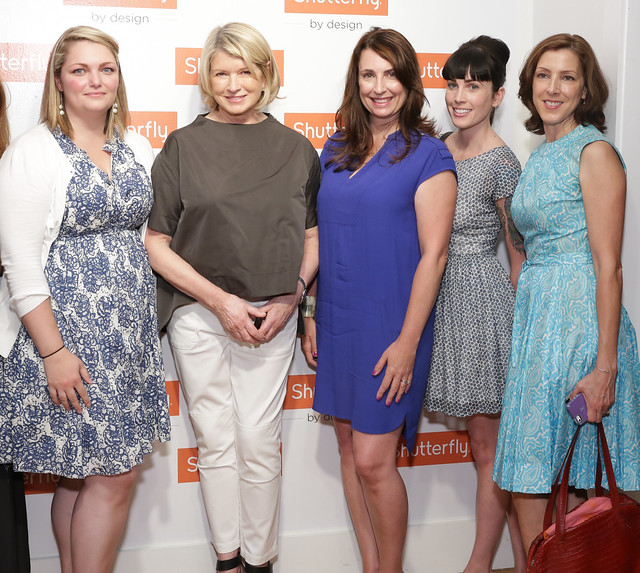
After seeing all that goodness, it was time to shake hands and make weird expressions next to Martha Stewart. I was so excited about it all, my brain must have malfunctioned and put an immediate stop order on the brain synapse that tells my face to smile. Despite the lack of photo evidence, TRUST - I was dancing on the inside.
Added bonus for meeting some other talented ladies as pictured above - Kelly of Eclectically Vintage, Alana Jones-Mann & Linda Facci.
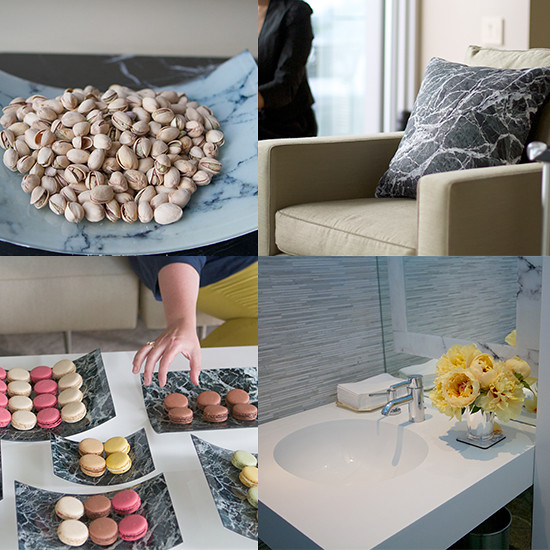
After that red-letter moment, we were off to a cocktail party at Kevin Sharkey’s gorgeous Tribeca apartment. For the event, he put his own spin on some of the Shutterfly products using a marble pattern. For example, he created a faux marble umbrella stand using an oversized floor vase and wall decal. Then using that same decal, created an inlaid marble look on his bathroom mirror. The same pattern was repeated on pillows, curved glass prints, used as serving dishes, tableware, and notepads for a classic, timeless look.
But the fun doesn’t end there. Shutterfly has asked me to try out a few products in my own home. Once again, the answer was a definite yes! After all the eye candy I experienced at the event, my head is swimming with ideas.
Want to give it a try? Shutterfly is running a great buy more, get more promotion starting July 10. 50% off $100+ / 40% off $50+ / 30% off orders less than $50. Promo code is: GETMORE
Disclosure: This post was sponsored by Shutterfly and Martha Stewart but all of the opinions expressed are my own.
Shutterfly asked if I would like to attend their 2014 Shutterfly by Design event followed by a cocktail party at the home of Kevin Sharkey, SVP, Executive Editorial Director of Decorating, and Executive Creative Director of Merchandising at Martha Stewart Living.Um, let me think about that for a second. Yes of course!
This was my first year there and I wasn’t quite sure what to expect, but I have to say I was floored! Of course I’m familiar with Shutterfly for prints but I had no idea how many other products they offered beyond just photo prints. Add that to the fact that the event was styled by some pretty amazing designers, I couldn’t take it all in fast enough. Lots of inspiration here. Check it out…
Great work by everyone involved including Brit Morin, Michelle Workman, Olivia Palermo, Jennifer Hadfield, Kim Stoegbauer
Just lovely and chock full of clever ideas to be inspired by. Here are a couple of mental notes I took to share with you.
How about a wall gallery of metal prints;(yes, Shutterfly makes metal prints, who knew?) artfully displayed with LED lights? The effect was just gorgeous. Really smart and so impactful! Or using a wood print in place of a stainless steel bath caddy by placing it across a claw foot tub? Why didn’t I think of this before?
Or what about recreating a favorite antique china plate onto melamine dishware for outdoor entertaining? Yes, they make dishes too! Especially genius for those of us who scour thrift stores and always seem to find a single gorgeous plate without the rest of the set. Or what about using a wall decal on the floor as a very clever party decoration? Ok, enough gushing. I think you get the idea.
After seeing all that goodness, it was time to shake hands and make weird expressions next to Martha Stewart. I was so excited about it all, my brain must have malfunctioned and put an immediate stop order on the brain synapse that tells my face to smile. Despite the lack of photo evidence, TRUST - I was dancing on the inside.
Added bonus for meeting some other talented ladies as pictured above - Kelly of Eclectically Vintage, Alana Jones-Mann & Linda Facci.
{photos courtesy of Ron Palacio}
After that red-letter moment, we were off to a cocktail party at Kevin Sharkey’s gorgeous Tribeca apartment. For the event, he put his own spin on some of the Shutterfly products using a marble pattern. For example, he created a faux marble umbrella stand using an oversized floor vase and wall decal. Then using that same decal, created an inlaid marble look on his bathroom mirror. The same pattern was repeated on pillows, curved glass prints, used as serving dishes, tableware, and notepads for a classic, timeless look.
But the fun doesn’t end there. Shutterfly has asked me to try out a few products in my own home. Once again, the answer was a definite yes! After all the eye candy I experienced at the event, my head is swimming with ideas.
Want to give it a try? Shutterfly is running a great buy more, get more promotion starting July 10. 50% off $100+ / 40% off $50+ / 30% off orders less than $50. Promo code is: GETMORE
Disclosure: This post was sponsored by Shutterfly and Martha Stewart but all of the opinions expressed are my own.
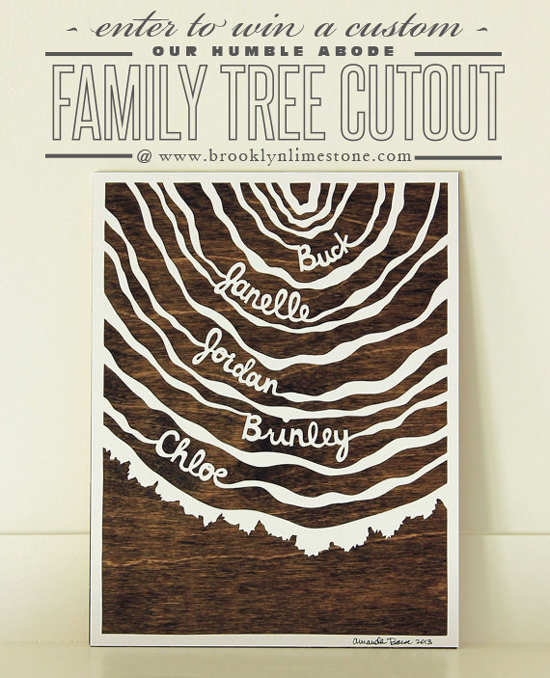
Giveaway: Whole Family Tree Cutout
I hope everyone enjoyed some great family fun this weekend and to celebrate, Amanda of Our Humble Abode was kind enough to offer a giveaway of her beautiful laser cut family tree artwork.
Simply enter via the rafflecopter entry below OR leave a blog comment with your favorite piece from the Our Humble Abode shop. I'll draw a winner later week.
a Rafflecopter giveaway
Simply enter via the rafflecopter entry below OR leave a blog comment with your favorite piece from the Our Humble Abode shop. I'll draw a winner later week.
a Rafflecopter giveaway
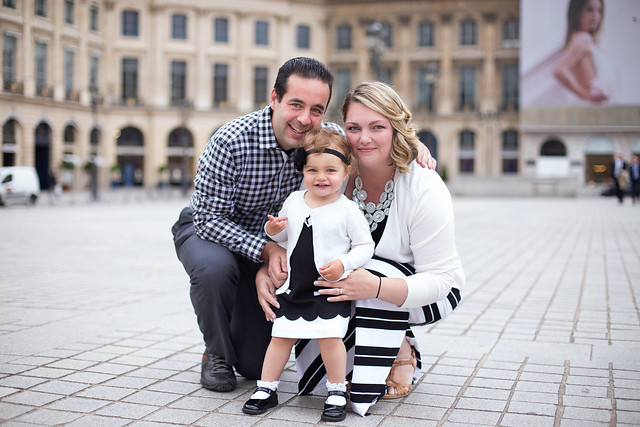
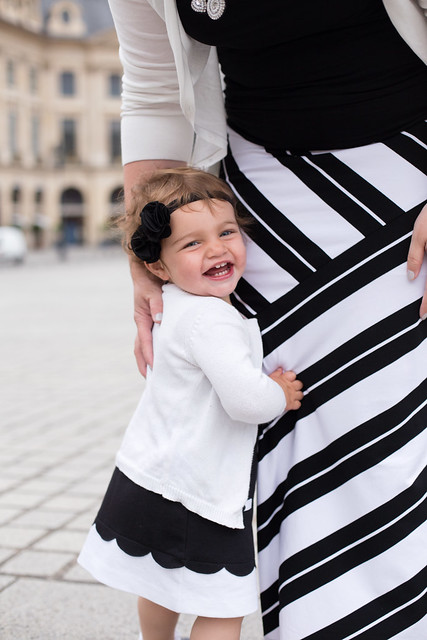
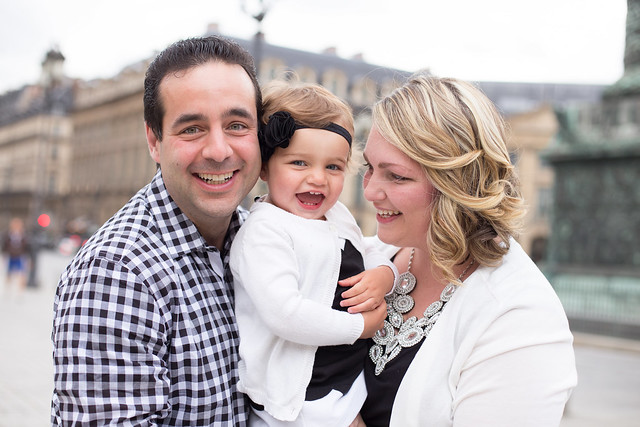
Family Portraits in Paris
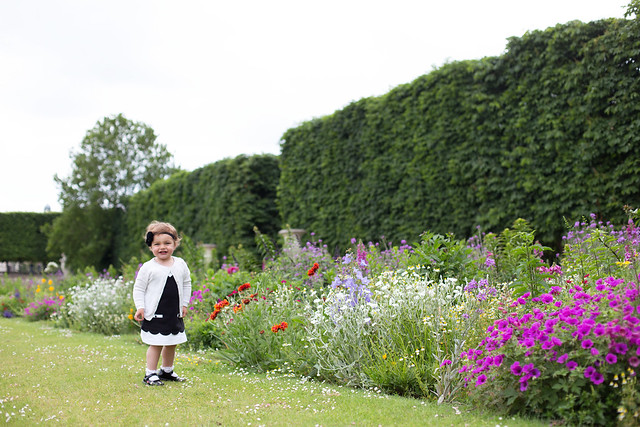
Wrapping up from part one and two of our Paris recap, I just have one final installment. Before we left, I booked a photoshoot for the three of us with the lovely Katie Donnelly. Agatha wasn't in the greatest of spirits that afternoon but you would never guess it thanks to Katie's personality - she has a way with kids.
I'm usually behind the camera so having good photos of all three of us is a very rare occurrence. Having a pro take some is definitely a splurge but I'm so glad we did it. As if I needed another reason to want to go back to Paris, doing this again is high on my list. Thanks to Katie for making it so easy.
Paris with a toddler {part duex}
Picking up from part one of our Paris recap... here are a few more highlights from our trip that I highly recommend.
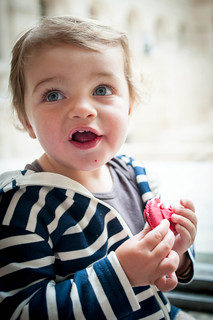
Trips are always a great time to do a "first"....for example, baby's first macaron.

In case you were unclear, she liked it!
In terms of transportation we mostly walked everywhere but we took a few subway rides as well. Its a bit of a pain to carry a stroller down the steps but thankfully Mr. Limestone works out.

We shameless do the tourist things no matter where we go. True, it does bring my street coolness down a few factors but I'm okay with that.
The hardened new yorker inside me rolls her eyes.
Impromptu picnics are always a good idea. Agatha fully immersed herself in french cuisine that week by eating as much bread and cheese as her mean parents (who kept trying to get her to eat some vegetables!) would allow.
Since we are on the topic of eating, let's discuss how meals in restaurants go. Obviously there is no truly leisurely meals when eating with a toddler but we did eat in restaurants a lot and enjoyed it. Sometimes there were high chairs, sometimes there were not. When there were no high chairs we were able to push her stroller up to our table or sit in a booth. No matter where we went we got warm welcomes. Generally we were able to get two courses and a bottle of wine before Agatha had had enough which I consider a big win.
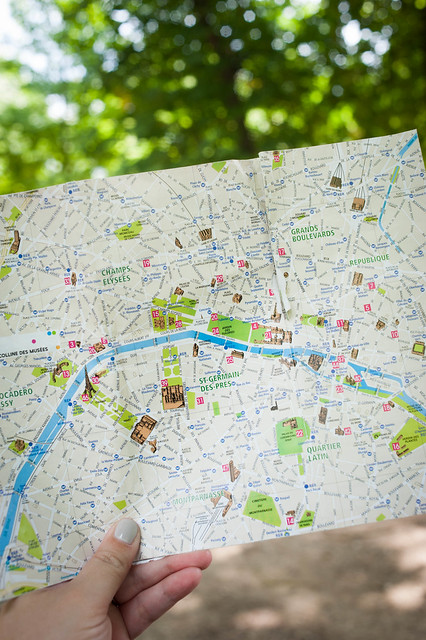
I don't like to pay for international data so I don't have my smart phone to help me navigate. Luckily its impossible to get lost in Paris in a bad way but I do carry a hotel map for consultation.
Even if you do end a little lost, you won't be disappointed. You might wander into something wonderful like toy boats sailing by (yes, this is a public park!) or...
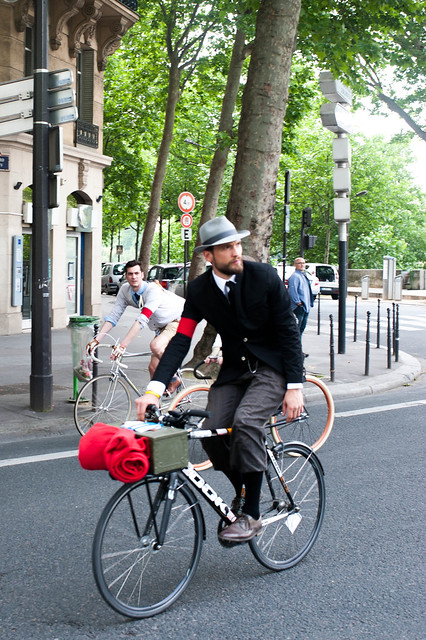
a little street art? or a bicycle race where the participants were all dressed in 1940 period clothing?
Insert corny cliche here about taking time to smell....you get the idea.
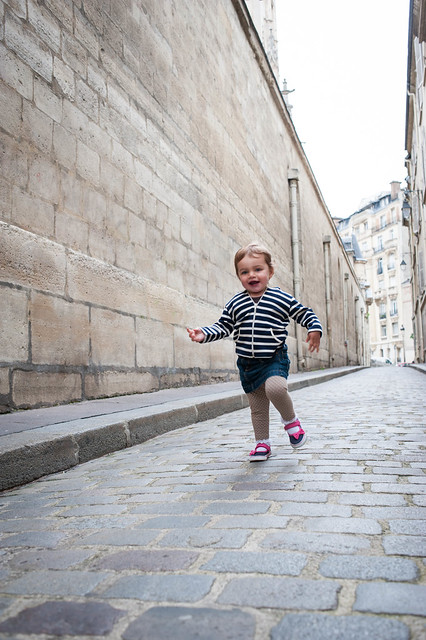
As everyone knows, Paris is an expensive city but this might have been our cheapest trip there yet. Mostly because its just easier to walk with a stroller than take a cab, it's easier to have a park picnic than sit down to a fancy dinner and the things an 17 month old most enjoys (running in the grass, whooshing down a playground slide, walking on a sidewalk) are 100% free!
Not all shown above but I highly recommend the follow
BHV great Marais dept store that sells everything from clothing to sewing notions to home decor to toys
Deyrolle quite possibly the most amazing store in the world for taxidermy - i'd love to throw a party here
Le Relais de l'Entrecote worth the line + the hype - they make the most amazing steak frites
Astier de Villatte an amazingly gorgeous store filled with ceramics and other treasures you'll want to bring home
Richard Lenoir Market - This avenue is packed with fresh food vendors with a few great souvenir options as well
I think that wraps up all my tips on traveling with a toddler to Paris.( I do have one more post to share with some professional family photos coming up tomorrow and then I promise to shut up!)
Have your own travel tips or favorite spots to share? Feel free to chime in!
Subscribe to:
Posts (Atom)