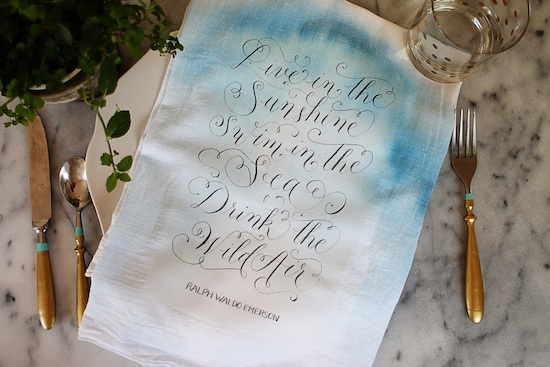
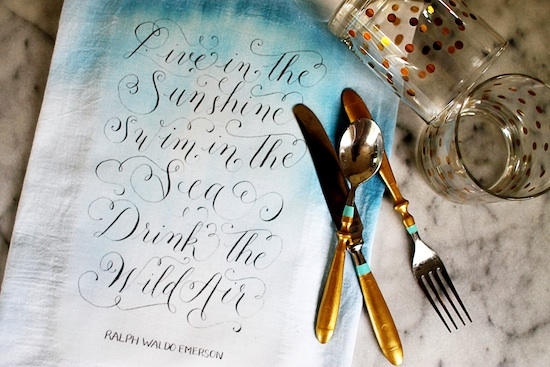
For Christmas this year, I asked my sister to buy me a calligraphy course and some supplies to get started. Calligraphy is something I have wanted to learn for as long as I can remember and since finishing my course, I have become completely obsessed. While I am still new to it and have a lot to learn, I thought it would be fun to incorporate calligraphy into my DIY this time since it seems to be the only thing I want to do in my spare time. This is a really simple but lovely (I like to think anyways) DIY for something that we all have use for: the tea towel. I have also been very into the watercolor look lately and I thought if I calligraphed a summery quote, it would be nice to combine it with a blue watercolor effect.
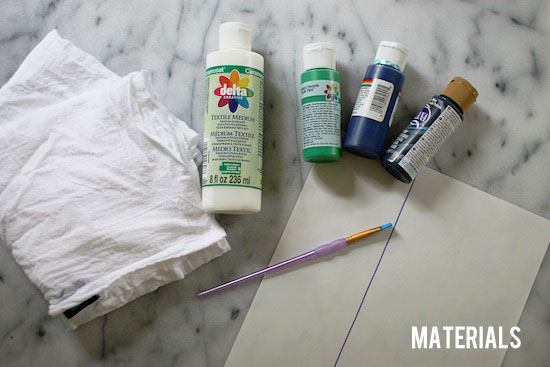
1. Craft paint (the cheapy kind) in any color you want. I used a few different colors I had laying around to make the blue I used. Or fabric paint. I already had such a wide variety of craft paints at home, I decided to use them and save some money by just buying a bottle of fabric medium to use with my craft paints.
2. A spray bottle full of water
3. A paintbrush
4. Fabric medium- If you would like to just purchase fabric paint from the get go you will not need this.
6. An iron
7. Plain white tea towels
8. A printer
9. Tape - whatever you have laying around
What you’ll do:
1. Download and print the Tea Towel calligraphy document. Read the directions on your transfer paper to make sure you are printing on the correct side. I do realize when you print this it will look super weird and be backwards. Don’t worry your head about that. It is totally supposed to be that way.
2. Wash and dry your towel to prepare for the watercolor. Actually, if it isn’t dry that isn’t any big deal as you are supposed to wet it before you paint it anyways. Either way. This is to get the factory gunk off the fabric.
3. Fold your towel into 3rds lengthwise like you would if it you were hanging it up. Once you do this, tape around the section of the towel that will be showing when you hang it. This is the most important area to address when applying the watercolor because it will be most visible and where you will be putting your quote. If you want to skip this step and just watercolor up your whole tea towel that is just fine with me.
4. After you smooth down your tape, either open your towel and lay it flat or rig it up so you can paint on it. Since I had an easel at my disposal, I used that but you guys are smart and I bet you can figure out how you want to work out your own painting station.
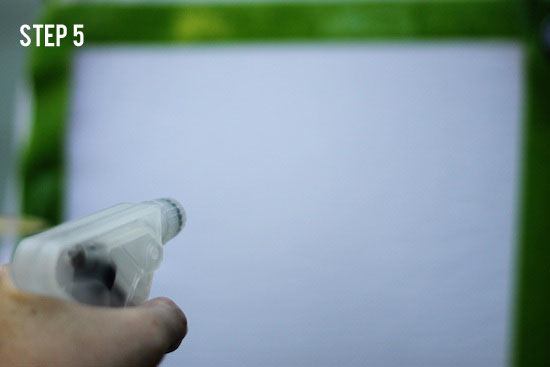
5. Make sure the area of your towel you want to paint is very wet by misting it completely with your spray bottle.
6. On a plate, mix one part paint with ½ part fabric medium. I just eyeballed it. Then use your spray bottle and squirt water in to water it down.
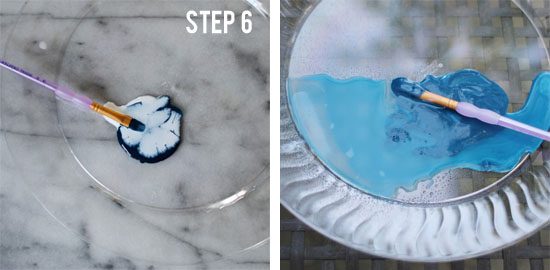
7. Start painting your towel by dabbing a darker bit of paint in one section and letting it spread out with the water. Move the color around to other areas with your brush. Spray the paint you have put on the shirt with your spray bottles to help create the effect where the paint is gradually becoming lighter as it moves down the towel. Once your towel looks how you want, let the paint dry. Keep it mind that the paint will lighten as it dries and so make the color slightly darker than you want it. After the towel dries completely, wash and dry it again. You may find that a little bit of color will come off in this process as well.
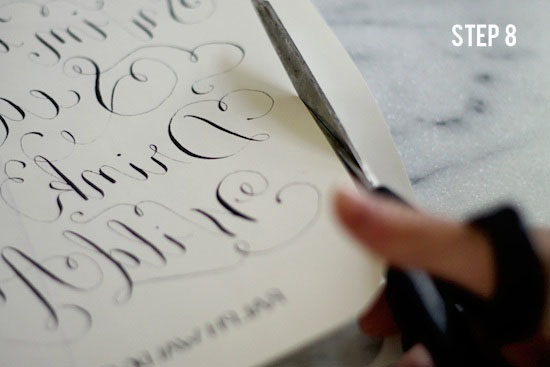
8. Print out your calligraphy document on the transfer paper, paying attention to the directions that come with it about the correct side. Once it is printed, use scissors to trim off some of the extraneous edges and make sure to round off the corners. This helps protect the sharp edges from coming up once it is ironed on.

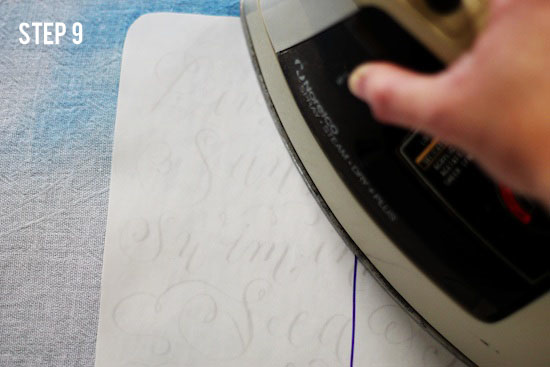
9. After completely ironing out the tea towel, place it on a hard flat surface (such as a countertop). The directions on your transfer paper will specify what is best. Then place your calligraphy document writing down on your tea towel in the middle of where you placed your watercolor. Using the steam free setting (or after dumping out the water in your iron) iron the design onto the towel by running the iron over it and applying pressure but moving around at all times. Make sure to do this for the amount of time specified in the transfer paper directions.
10. Once the tea towel is completely cooled from ironing, carefully peel the backing off of the shirt. Once you work away the corner, it should come quite easily and if it doesn’t, it make need to be ironed more.
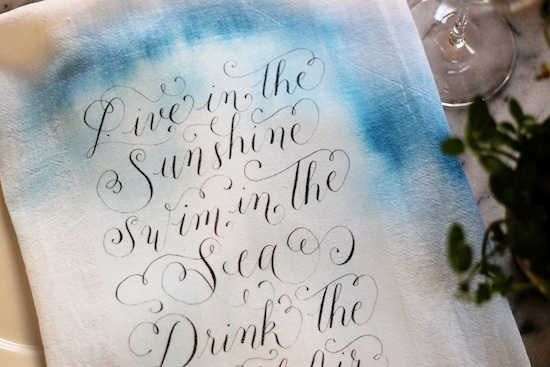


That’s all she wrote.
I've also include a free printable of the quote here to be used for this project or simply framed as art.
With love,
Megan
Megan





I used to read your blog wayyyy back when you were first renovating... I remember your posts about stripping the carved banister and which paint stripper was best, the bathroom before shots....oh my! Somehow I lost you and stumbled across you today. Love seeing how you have evolved!
ReplyDeleteGreat project-- So creative!
ReplyDeleteWhat a great idea to celebrate the Towel day, which was yesterday :)) Thanks for the inspiration!
ReplyDeleteCarpet Cleaning Fulham